Skip to content
Menu
Home
About US
Bikes
Cycling 101
Customizing
Maintenance
Repairs
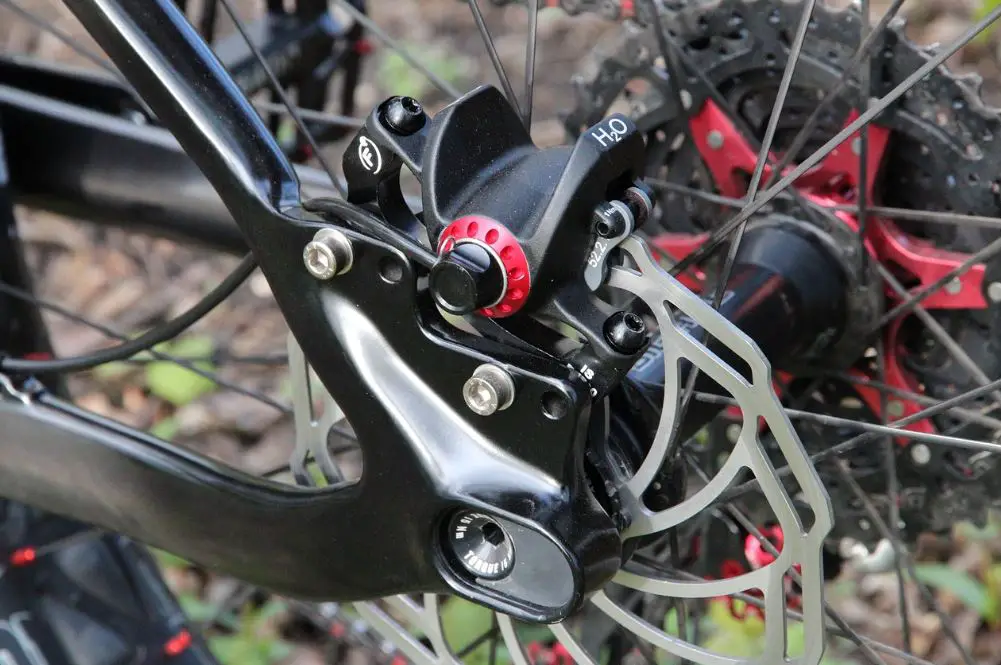
Hydraulic Disc Brakes No Pressure
Greg
...
Leave a Comment
Cancel reply
Comment
Name
Email
Website
Save my name, email, and website in this browser for the next time I comment.
Δ