Last updated on August 27th, 2023 at 04:28 am
This product list contains affiliate links. This means that at no extra cost to you, I may earn a commission if you use one of these links to make a purchase.
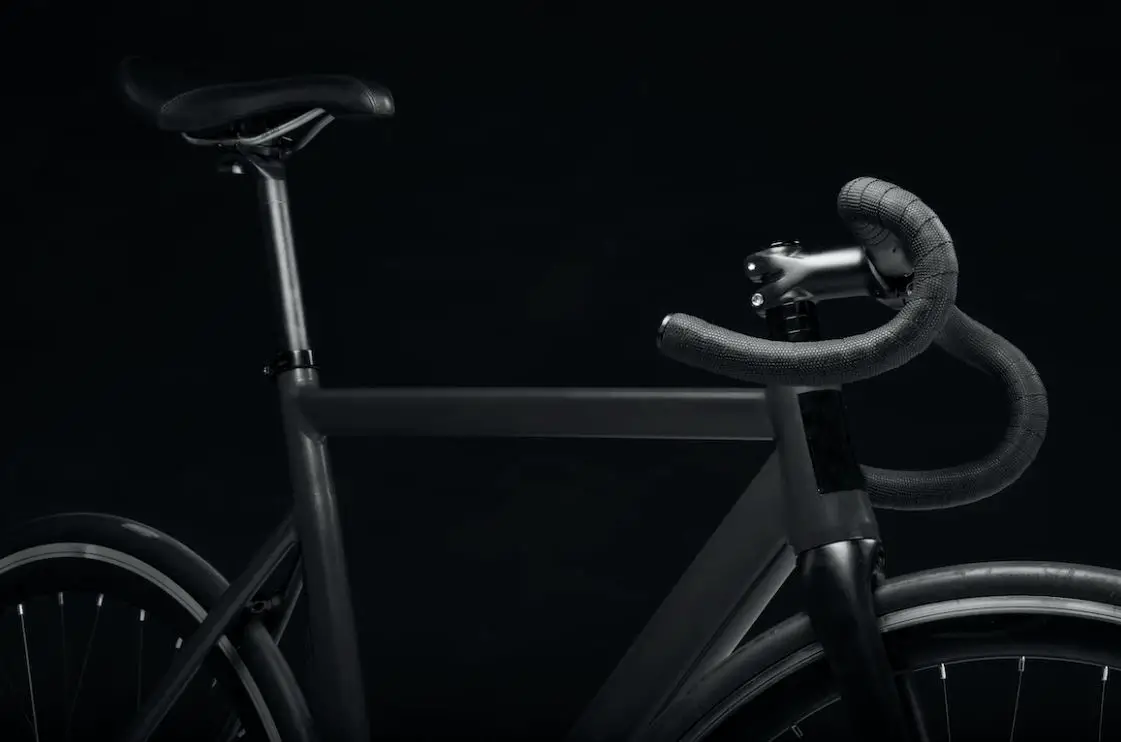
Regular handlebar tape just doesn’t cut it for some cyclists.
Its thin, flat design often puts pressure on your palms. The lack of cushioning also makes vibrations transfer directly to your hands.
What’s more, standard tape can be a nightmare to install and replace – it easily wrinkles and needs to be wrapped perfectly to avoid bunching.
In this article, we’ll explore some of the best bike handlebar tape alternatives that provide superior comfort, convenience, and style.
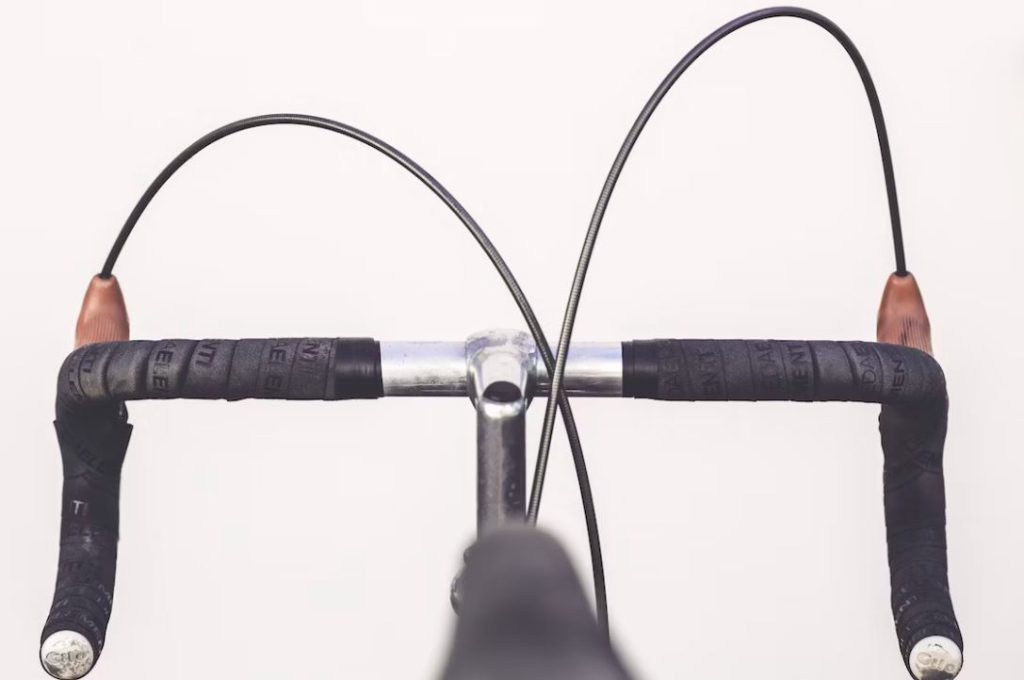
Alternative #1: Electrical Tape
The classic solution recommended by many experienced cyclists is finishing the wraps with electrical tape.

Also Read: Chamois Cream Alternatives
Electrical tape comes in a wide variety of colors like black, blue, red, yellow, green and more to match or complement your bike.
And it is inexpensive, usually under $5 a roll, and you can find it at any hardware store.
It goes on smoothly, conforms well to curves, and leaves no sticky residue. Plus, it gives a tidy, adhesive-free transition that will hold up for many rides.
Just wrap the last 4-6 inches of your handlebar tape with electrical tape, stretching it slightly for a tight application.
Alternative #2: Reflective Tape
Reflective tape is another great bike handlebar tape alternative.
A strip of reflective tape on your handlebars will help you stand out on the road, especially for early morning or night riding, and avoid potential accidents.
Reflective tape designed specifically for cycling, like Scotchlite, works great and comes in colors like white, yellow, red and more.
Apply it the same way as electrical tape for increased confidence in low light conditions.
Alternative #3: Wrap Opposite Direction
Wrapping your handlebar tape in the opposite direction, starting at the ends and working inwards towards the stem, is an easy way to eliminate the need for end tape entirely.
Just secure the initial wrap with a dab of glue or double-sided tape on the underside to prevent slipping.
This puts the seam on the inside and provides a clean, smooth finish on the outside ends with no transition needed.
Alternative #4: Heat Shrink Tubing
For a professional, lasting finish, heat shrink tubing is one of the best alternatives.
Also Read: Optimal Hybrid Bike Tire Pressure
Purchase heat shrink tubing in the appropriate diameter for your handlebars and cut 4-5 inch pieces to slide onto each handlebar end before you begin wrapping.
After completing the handlebar tape wrap, slide the heat shrink tubing over the very ends.
Use a hair dryer on a hot setting or a heat gun to apply concentrated heat and shrink the tubing down tight and conform to the shape of the bars.
The tubing won’t come loose, peel up, or unravel like tape.
Alternative #5: Inner Tube Method
One way to avoid adhesive residue buildup on your handlebars is using non-adhesive handlebar tape paired with cut sections of old inner tube to finish the ends.
Cut two pieces of innertube about 1 inch longer than needed for each side. Install them on the handlebars before wrapping your tape.
Once wrapped, fold the excess inner tube neatly over the end of the bar tape, adjusting the fit as needed.
The inner tube pieces will grip the tape and bars while providing a tidy finish. Replace them periodically as the rubber deteriorates.
Alternative #6: Silicone Tape
Silicone tape, like E-Z Fuse Silicone Self-Fusing Tape or Nashua Stretch and Seal tape, sticks only to itself and not to the handlebars.
This makes it easy to adjust or remove later if needed.
To finish your wrap, use silicone tape in place of standard handlebar tape for the last 4-6 inches on each end. It will grasp itself and compress to form a solid hold.
Hardware stores like Home Depot typically stock silicone tape brands for around $6 per roll.
Alternative #7: Gel/Padded Tape
For extra cushioning and comfort, invest in gel or padded handlebar tape designed specifically for finishing bar ends.
The thicker foam or silicone provides noticeably more vibration dampening and hand support compared to standard tape.
Also Read: How To Stop Sliding Forward On Bike Saddle
Brands like Lizard Skins DSP tape have an optimal thickness and taper for capping off wraps.
Upgrade to a padded gel tape wrap and skip end tapes completely.
Alternative #8: Silicone Rubber Tape
Finally, “self-amalgamating” silicone rubber tape, like Pocket Rubber, provides an easy all-in-one handlebar wrap solution.
It sticks to itself but not the bars, forming a soft, resilient wrap without adhesive.
The waterproof tape can be wrapped directly onto clean handlebars for a quick DIY wrap job. It also works great for finishing off regular tape by wrapping 2-3 layers on the ends.
You can find these online or in bike shops for around $20 per roll.
FAQs
Are There Benefits To Using Cloth Tape Instead Of Traditional Tape?
Yes, there are some benefits to using cloth handlebar tape over traditional tape.
Cloth tape tends to be more durable and resistant to wear and tear. It also provides a better grip, especially when your hands are wet or sweaty.
Plus, cloth tape can be more comfortable to grip than traditional tape, which can be important for long rides.
Is It Necessary To Use Handlebar Tape On A Bike?
Yes, it is necessary to use handlebar tape on a bike. Handlebar tape serves several important functions.
It provides a comfortable grip for your hands, reduces vibration and shock from the road, and helps to protect your handlebars from damage.
Handlebar tape also absorbs sweat and moisture, which can be important for maintaining a good grip on your handlebars.
How Do I Properly Re-Wrap My Bike’s Handlebar Tape?
To properly re-wrap your bike’s handlebar tape, start by removing the old tape.
Then, clean the handlebars thoroughly with a degreaser to remove any dirt or grime. Next, start at the end of the handlebar and wrap the tape tightly around the bar, overlapping each layer slightly.
Be sure to leave enough tape to cover the entire length of the handlebar.
When you reach the end of the handlebar, secure the tape with electrical tape or the included finishing tape. Repeat the process for the other side of the handlebar.
Finally, trim any excess tape with scissors or a knife.
